Step 1: Preparing Installation
Double-click
SWF to Video Converter installer after downloading it to start installation. We recommend that you close all the other applications before installing
SWF to Video Converter. Click "Next" to continue.
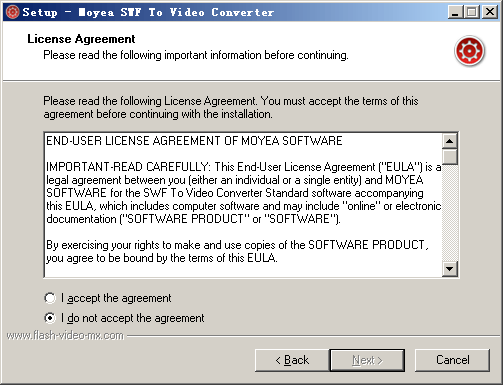
 Step 2: License Agreement:
Read the End User License Agreement carefully. Click "I Agree" to continue installation if agree. Click "I do not agree" to exit installation if you do not agree.
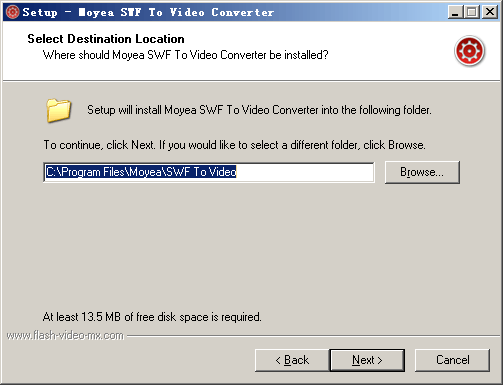
 Step 3: Installation Directory
Specify a directory on your hard disk to save your
SWF to Video Converter files. Click "Next" to continue.
 Step 4: Select Star Menu Folder
Choose to create the program's shortcuts in the following star menu folder. Click "Next" to continue.
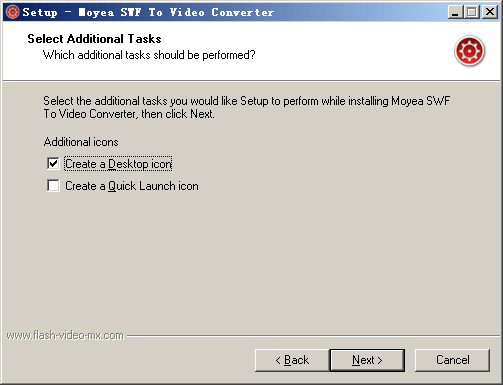 Step 5: Select Additional Tasks
Choose to create a desk icon and a quick launch icon. Click "Next" to continue.
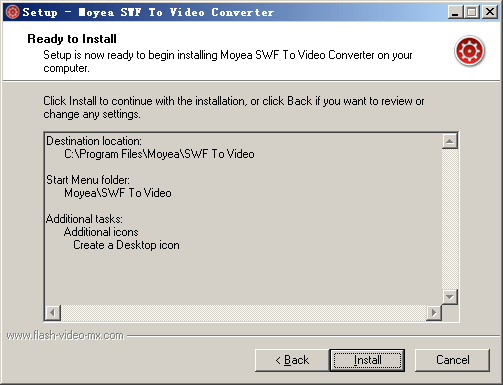
Step 6: Ready to Install
Click "Install" to continue installing
SWF to Video Converter if you do not want to make any changes to your settings. Click "Back" if you want to review your settings for possible changes.
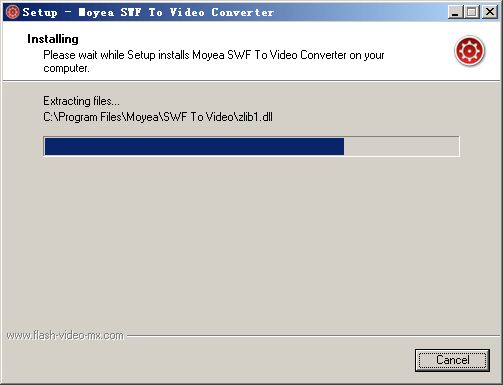
 Step 7: Installing
The installer will be installing
SWF to Video Converter on your computer. Click "Cancel" if you want to quit installing.
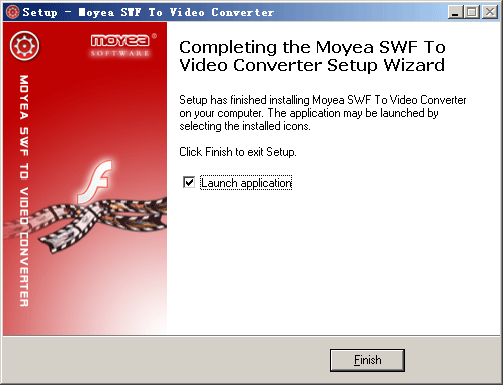
 Step 8: Finish Installation
Select "Launch Application" if you want to open the program right after installation. Click "Finish" to finish installation.
You can now start using
SWF to Video Converter!